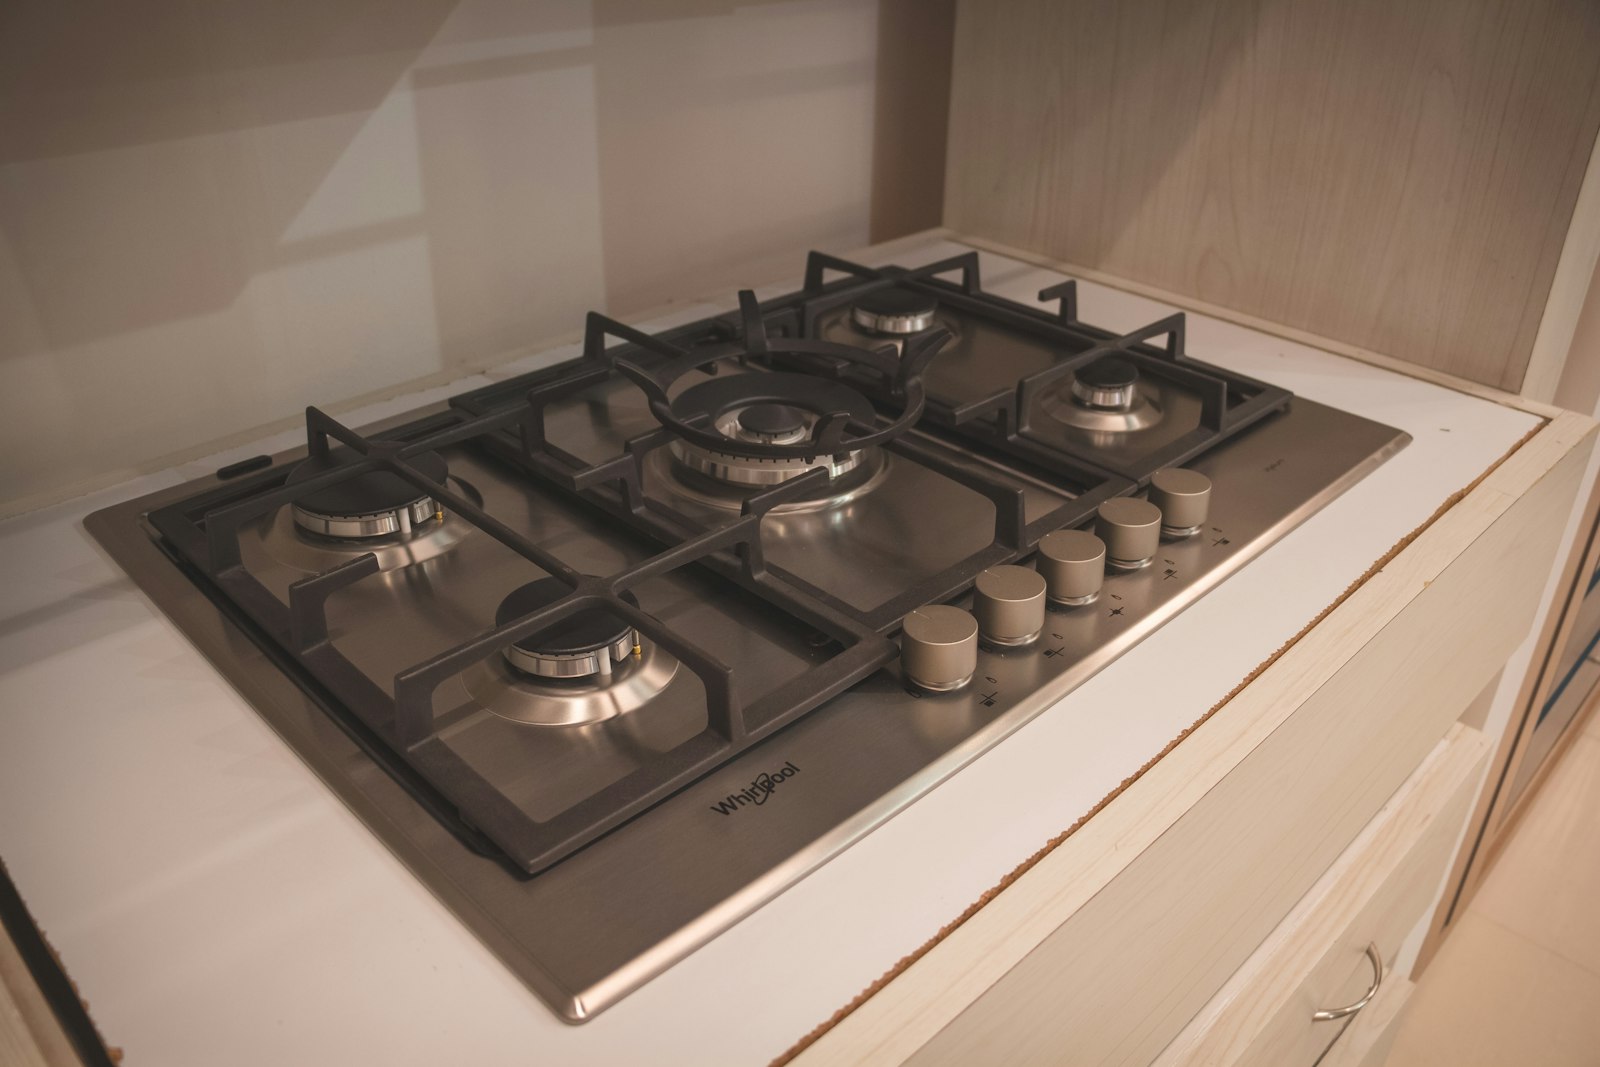
Getting whirlpool cooktop installation right comes down to a countertop cutout that matches the spec and the correct utility hookup for your cooktop type — a gas line for gas models, a 240V circuit for radiant and induction. Whirlpool cooktops (WCG/WCGK gas, WCE radiant, WCI/WCIT induction) drop into a counter opening, but each type has its own requirements, and getting them right prevents both performance problems and safety hazards.
Before the Whirlpool cooktop installation
- Cutout: measure your counter opening against the exact cutout dimensions in your model spec sheet — width, depth, and corner radius matter, and the cooktop overhangs the cutout to rest on the counter.
- Gas models: require a properly sized and shut-off-equipped gas supply line, a flexible connector rated for the appliance, and a leak check after connection. This is professional work in many jurisdictions.
- Radiant and induction models: require a dedicated 240V circuit on the correct breaker for your model — induction in particular draws significant current, so the circuit rating must match the manual.
- Clearances: respect the required distance to the back wall and any side cabinets, and the depth needed below for the unit body and wiring.
Steps that prevent later faults
Seat the cooktop level so cookware sits flat (important for induction pan detection and for even radiant heating), and make sure the unit is fully supported by the counter, not pinched against the cutout edges. For gas, perform a soap-bubble leak test at every connection before first use. For induction and radiant, confirm both legs of the 240V supply are live — a half-tripped breaker leaves the display on but elements cold. Route and secure the supply cable so it is not pinched as you lower the unit in.
When to call a pro for Whirlpool cooktop installation
Cutting the counter and dropping the unit in is within reach for a confident DIYer, but the gas connection and the 240V electrical connection are the parts where mistakes are dangerous. Gas work especially should be done by a qualified installer with the tools to leak-test the line. If a newly installed cooktop misbehaves, you can schedule a Whirlpool cooktop repair to tell an install issue from a defective part, and our Whirlpool cooktop repair overview explains what that diagnosis covers. Repairs use genuine OEM parts with a 30-day labor warranty.
Replacing an old cooktop versus a fresh install
Swapping an existing cooktop is usually easier than a brand-new install, but a few details catch people out. The new cutout may not match the old one — cooktop dimensions vary by brand and even by Whirlpool generation, so measure the new unit cutout against the existing opening before you commit; a slightly larger opening can sometimes be hidden by the new cooktop overhang, but a too-small one means cutting the counter. When switching fuel types — say replacing a radiant cooktop with induction, or gas with electric — the utility hookup changes entirely, and you cannot reuse a gas line for an electric unit or a standard outlet for a 240V induction draw. Inspect the old gas connector or wiring for age and damage and replace connectors as the manual directs rather than reusing brittle ones. If you are moving from one cooktop type to another, factor in that the electrical or gas rough-in may need an upgrade, which is genuinely a job for a licensed trade.
Final verification
Test every burner or zone on high and low before declaring the job done — gas burners should light promptly and burn blue, radiant elements should glow, and induction zones should detect a magnetic pan. For the precise cutout and utility specs for your exact model, always follow the installation instructions at whirlpool.com.