A correct whirlpool dryer installation is mostly about two things done safely: getting the power or gas connection right, and getting the venting right. A dryer that is hooked up but poorly vented will overheat, dry slowly, and become a fire risk, so the vent is not an afterthought — it is the most important part of the job. Whether you are setting up an electric WED or a gas WGD model, the steps below cover what matters and where do-it-yourselfers most often go wrong.
Before you start the whirlpool dryer installation
- Power: electric dryers need a dedicated 240V outlet; confirm whether your model and cord use a 3-prong or 4-prong configuration (newer installs are 4-prong).
- Gas: WGD models need a shutoff valve and an approved flexible gas connector, plus a 120V outlet for the controls.
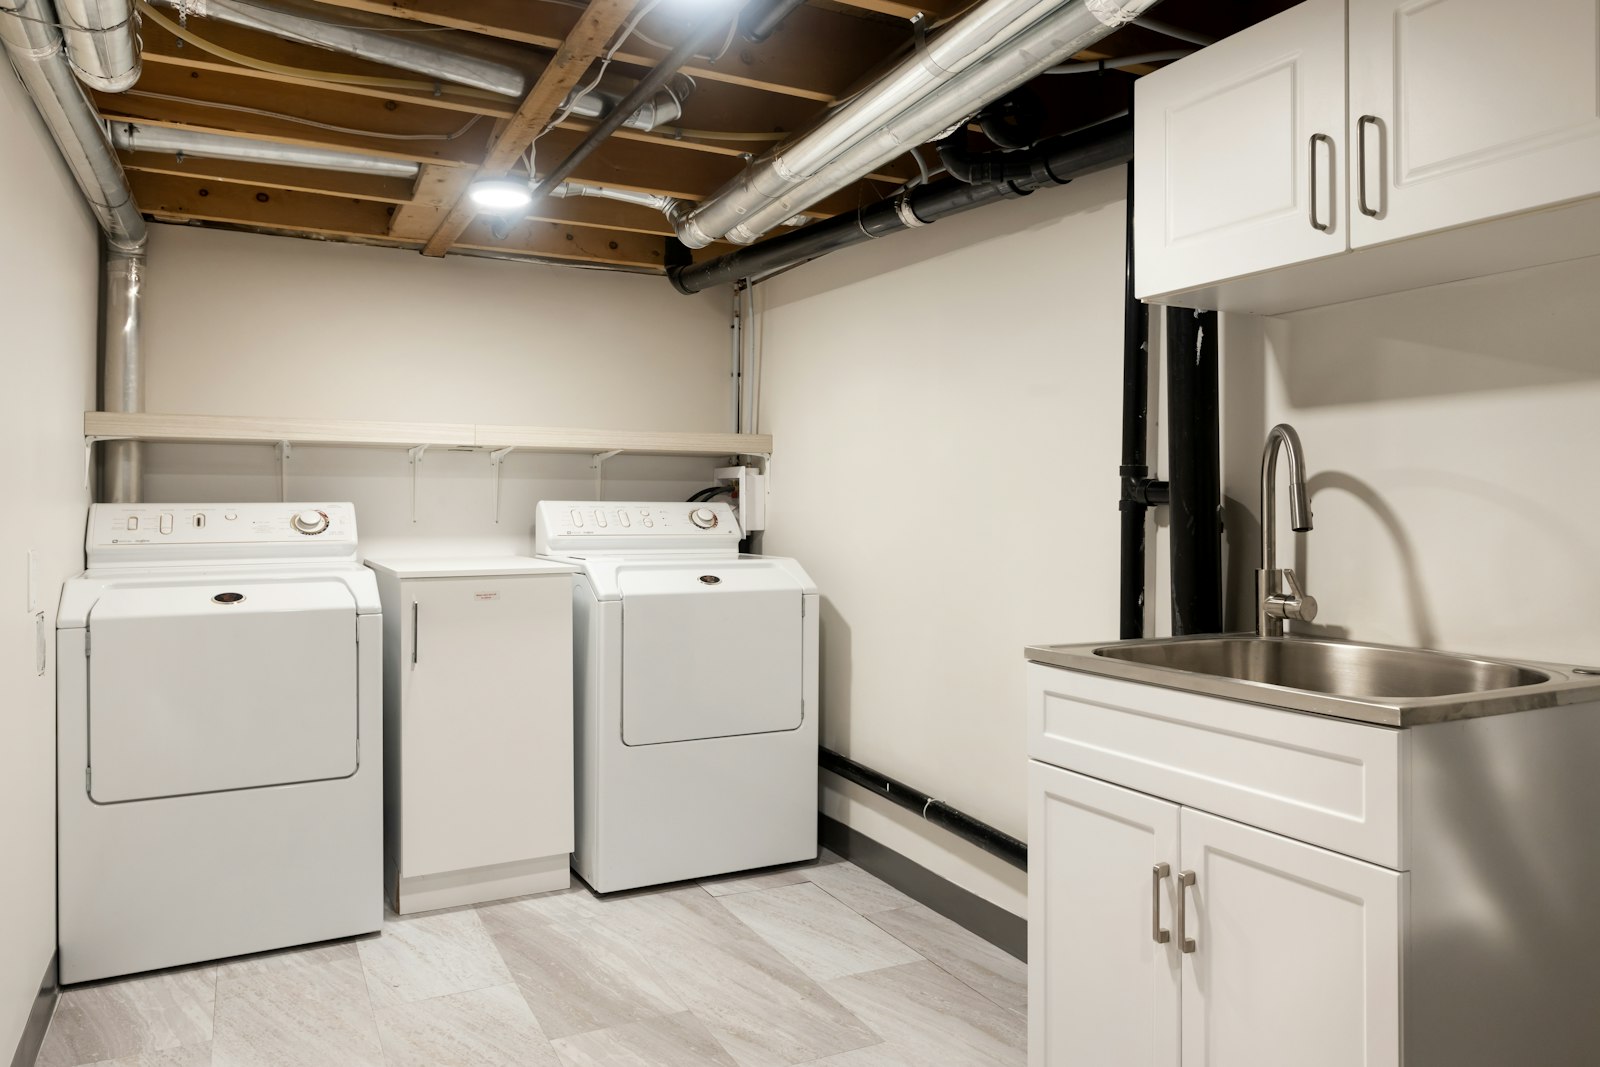
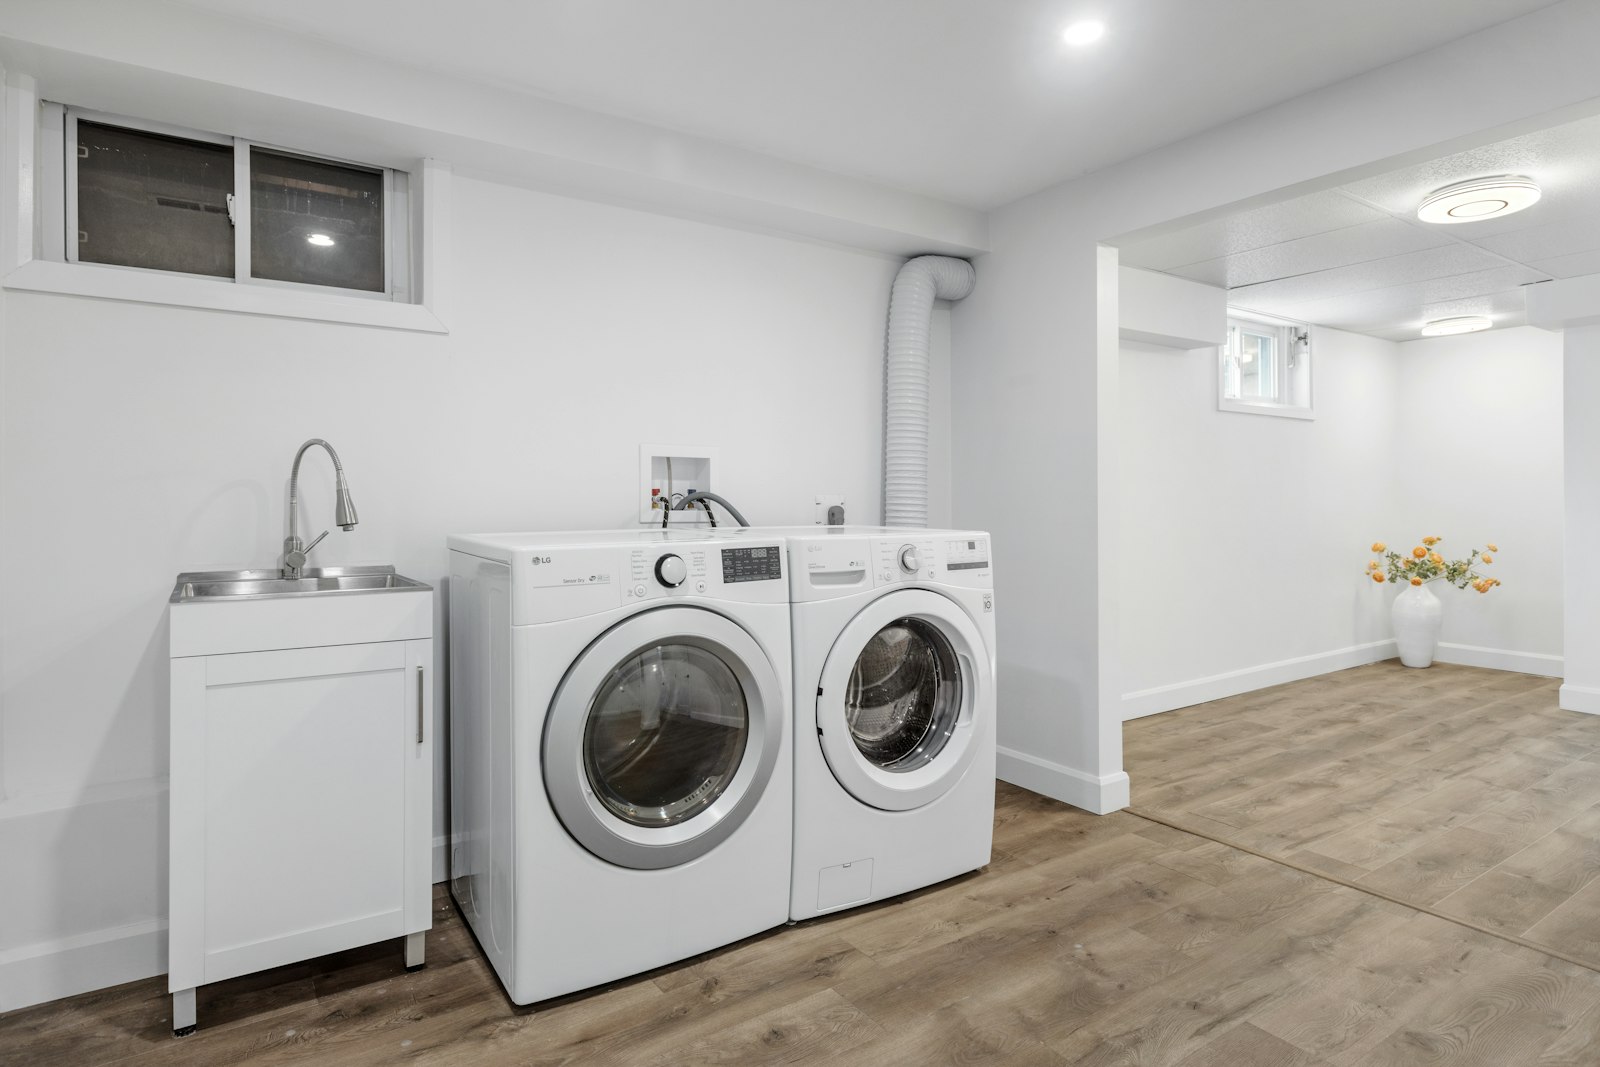
- Venting: a path to the outside using rigid or semi-rigid metal duct — never plastic or foil for the permanent run.
- Space: enough clearance behind the dryer so the vent does not crush against the wall.
Step-by-step installation
- Connect the power cord (electric) or gas line (gas). For gas, leak-test every joint with soapy water before powering on; never use an open flame to check.
- Run the vent the shortest sensible path. Use smooth metal duct, minimize bends, and keep within the maximum length Whirlpool specifies for your model.
- Confirm the outdoor hood flap opens freely and is not blocked by lint, paint, or a screen.
- Level the dryer so it does not rock; adjust the feet and tighten them.
- Run a test cycle and verify strong, warm airflow at the exterior vent and, for gas, a steady flame with no smell.
Common installation mistakes
The most frequent errors are using plastic or foil vent hose (a fire hazard that traps lint), running the vent far too long with too many bends, crushing the hose behind the dryer, and — on gas units — not leak-testing the connection. A dryer that dries slowly or overheats right after install almost always has a venting problem, which can trip the thermistor and overheat codes in our Whirlpool dryer error codes reference.
A couple of details around the vent run deserve extra care, because they are easy to get wrong and costly to live with. Manufacturers publish a maximum equivalent duct length, and every elbow counts as several feet against that limit — a run that looks short on paper can exceed the allowance once you add the bends needed to reach the wall. Pushing the dryer back against the wall after hookup is another common mistake; it crushes the transition duct into a tight kink that strangles airflow from the very first load, so leave enough clearance that the duct keeps a gentle curve. On the power side, a 4-prong cord must never be wired as if it were a 3-prong, because the separate ground and neutral exist for safety, and the cord and outlet configuration must match. For gas models, the flexible connector must be an approved appliance connector rather than generic tubing, and every joint should be leak-tested with a soapy-water solution that bubbles at the smallest escape. Getting these right at install time is what keeps the dryer running cool, efficient, and safe for years.
When to call for help
Gas connections, new 240V circuits, stacking kits, and long or complex vent runs are best handled by a professional — the safety stakes are real. Our experienced technicians install vents, connect power and gas, and confirm proper airflow before they leave; you can book an installation visit. Whirlpool publishes the official installation and venting instructions, including maximum duct lengths, for each model at whirlpool.com, and if a problem appears later our Whirlpool dryer repair service can resolve it.