Getting whirlpool range installation right is partly about performance and partly about safety, because a range involves either a high-current electrical circuit or a live gas line. Whether you are setting up an electric WFE515S0J or a gas WFG515S0J, the essentials are the same: the correct connection, the anti-tip bracket, a level cabinet, and careful first-use checks. Some steps — especially the gas connection — are best left to a professional.
Before you start the whirlpool range installation
Confirm what your model needs. An electric range typically requires a dedicated 240V, 40 or 50 amp circuit with the correct three- or four-prong outlet; a gas range needs a 120V outlet for the controls plus a gas supply line with a shutoff valve. Measure the opening width (usually 30 inches), depth, and height, and check the doorway path for delivery.
The anti-tip bracket is not optional
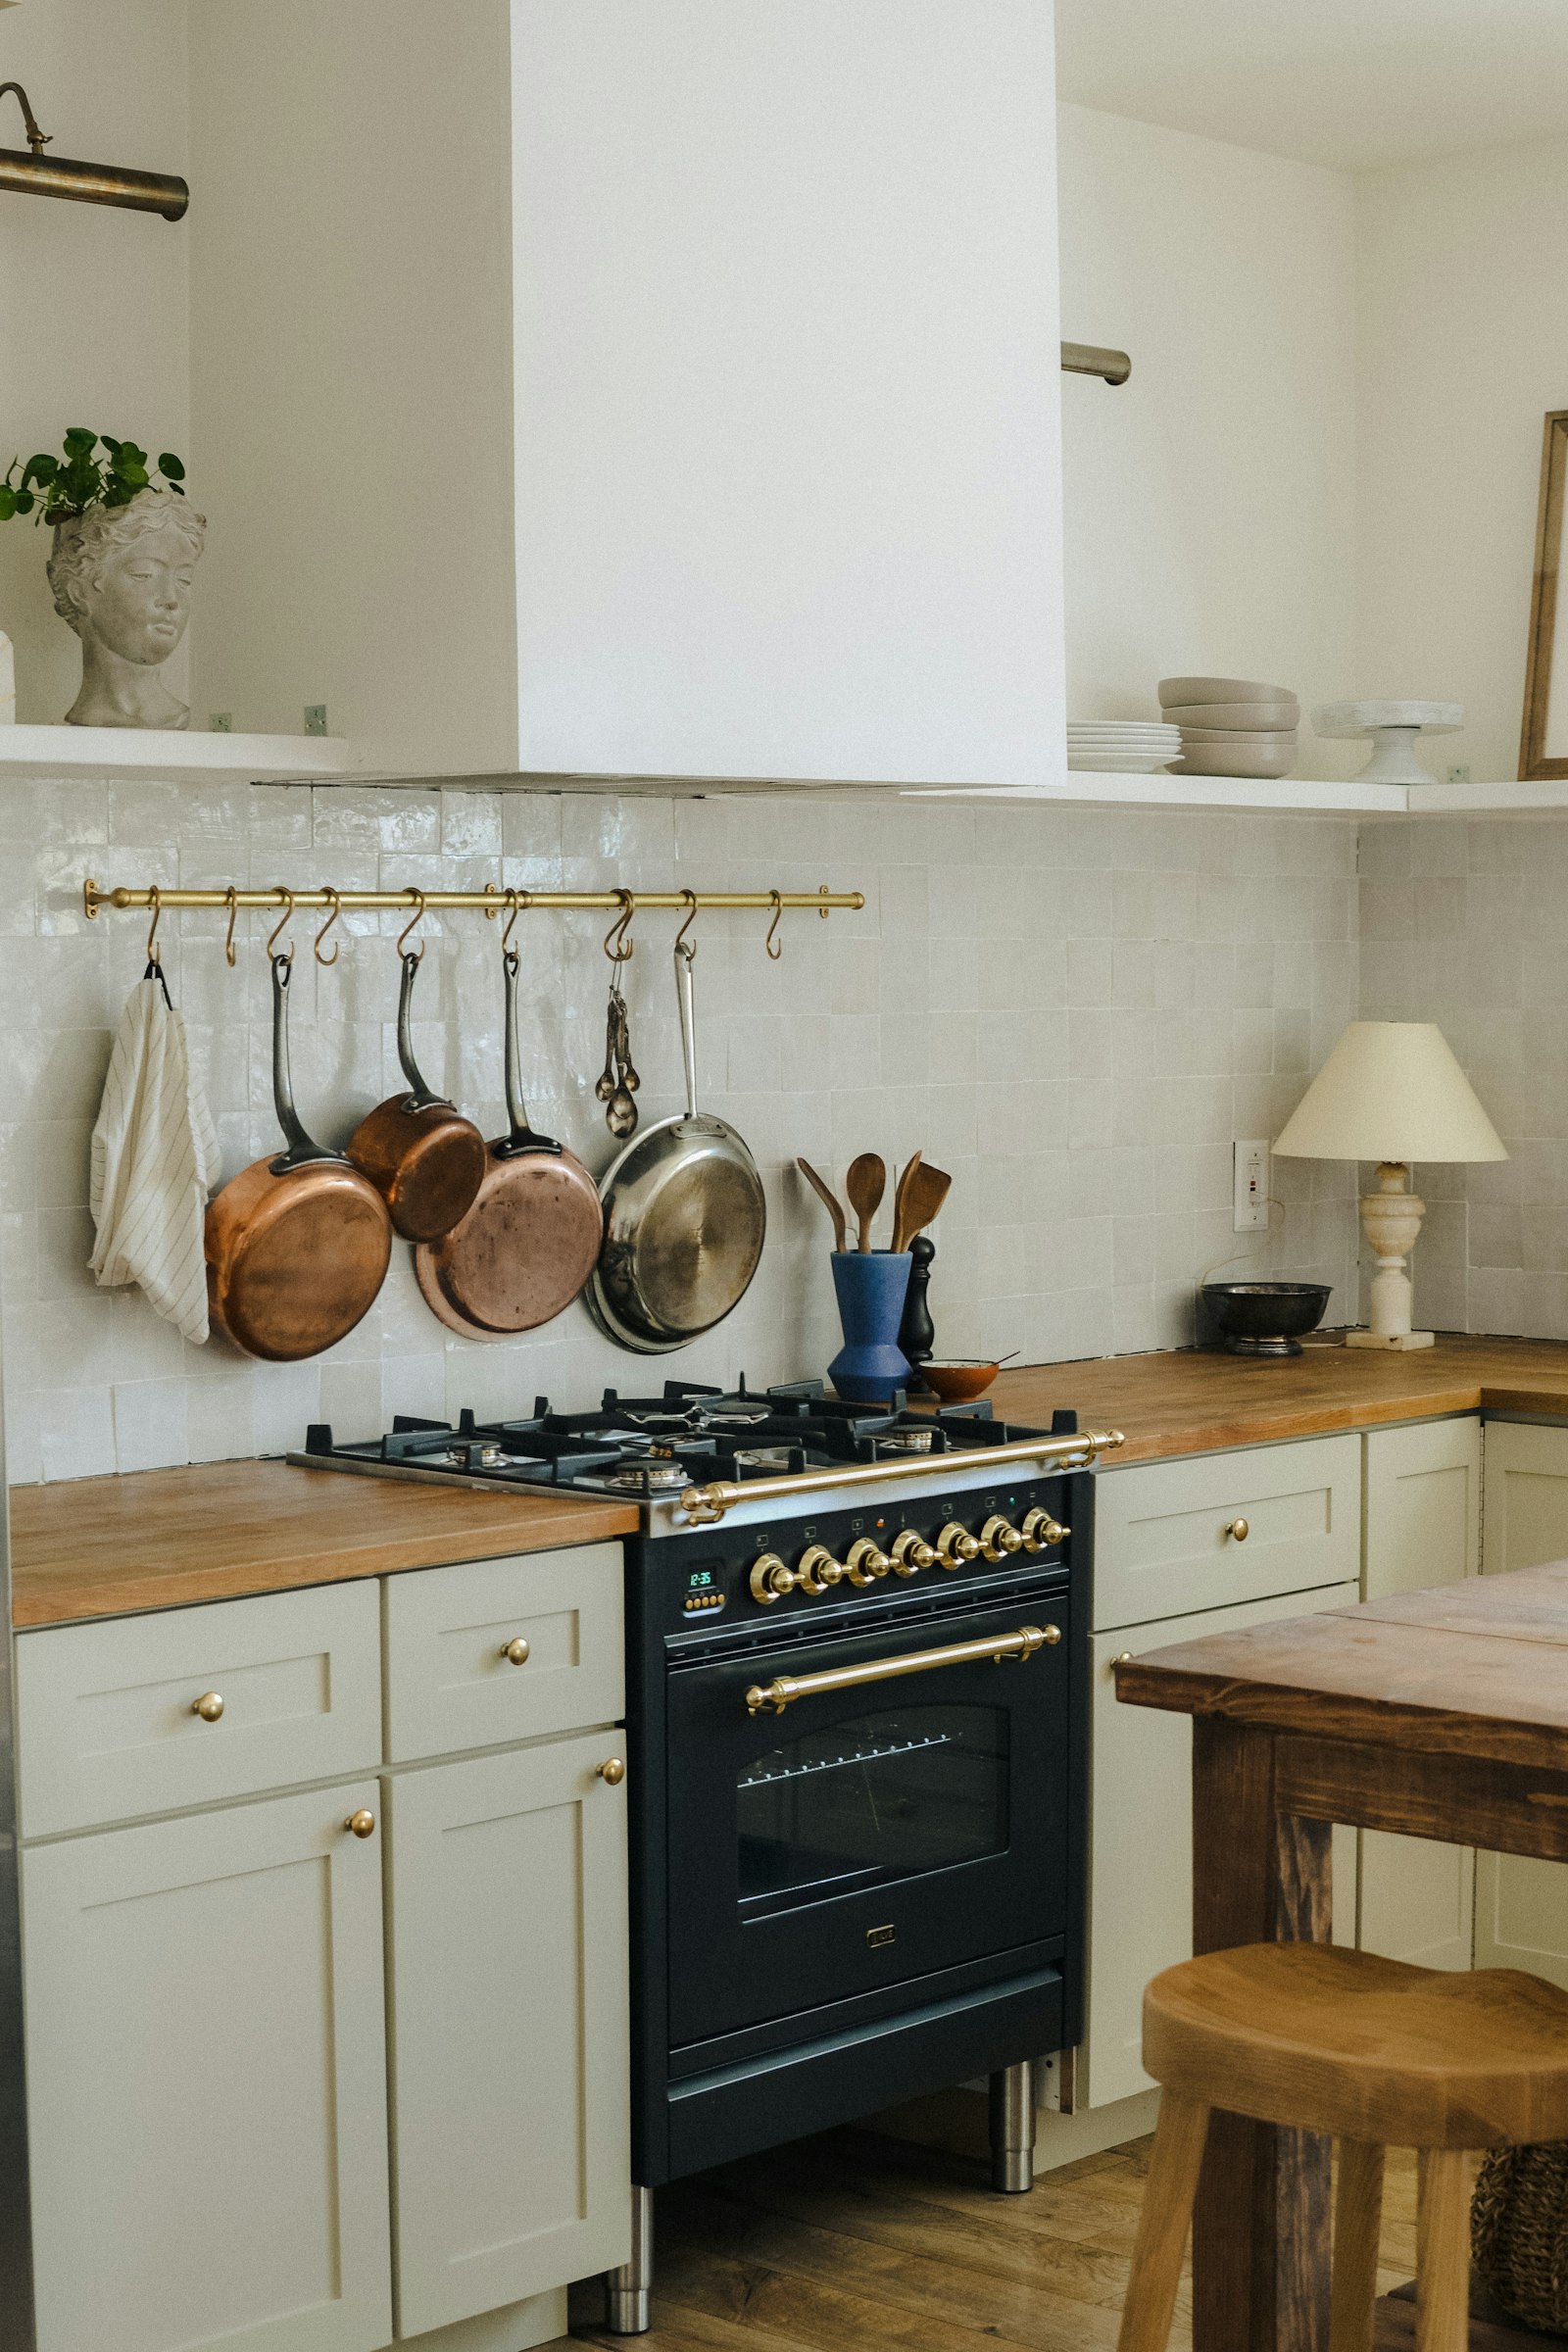
Every freestanding range must have its anti-tip bracket installed and the range engaged with it. The bracket prevents the range from tipping forward if weight is put on an open door — a genuine safety hazard, especially with children. This is the single most important installation step, and it is often skipped. Make sure a rear leg or the range body is captured by the bracket before you consider the job done.
Making the connection
- Electric: match the cord to the outlet (three- vs four-wire), tighten terminals to spec, and never use an adapter or undersized cord.
- Gas: use an approved flexible connector and a new fitting, apply pipe-joint compound rated for gas, and open the valve slowly.
- Gas leak test: brush soapy water on every joint and watch for bubbles — bubbles mean a leak. If you are not fully confident, have a professional make the gas connection.
Leveling and first use
Level the range front-to-back and side-to-side using the adjustable feet so liquids cook evenly and the door seals. On first use, run the oven empty at 400°F for a short period to burn off manufacturing residue (ventilate the kitchen), and light each gas burner to confirm a steady blue flame. If a burner clicks but will not light, our burner-won’t-light guide covers the cap and igniter checks.
A safety note on gas
If you ever smell gas during or after installation, shut off the supply, ventilate, leave the area, and contact your utility before doing anything else. Do not operate switches or test for sparks with gas present.
Clearances, ventilation, and the final checks
A few finishing steps make the difference between a range that performs and one that frustrates. Honor the clearances in the model instructions to combustible cabinetry above and beside the range, especially the minimum height to an over-the-range microwave or hood, since too little space is both a performance and a safety problem. Confirm the range hood or downdraft is vented and working, because a gas range in particular benefits from proper extraction of heat and combustion byproducts. After the connection is made and the anti-tip bracket engaged, slide the range fully back so it captures the bracket, then re-check that it is level and that the door seals evenly. Light every surface burner and confirm a steady blue flame, run the oven up to temperature once, and verify the clock, controls, and any convection fan operate. Walking through this short checklist at the end catches the small misses — an un-engaged anti-tip foot, a slightly tilted range, a burner that needs a cap adjustment — before they become a complaint.
When to get help
If you are not comfortable making a 240V or gas connection, or the range will not level or heat correctly, an independent specialist can complete the install safely with genuine OEM parts, backed by a 30-day labor warranty and pricing from a trip-and-diagnostic fee depending on the diagnosis. You can schedule installation help online, and our oven not-heating guide helps if a new range will not heat. For the official installation instructions and clearances, see Whirlpool.