Getting whirlpool wall oven installation right is mostly about three things done carefully: a cabinet cutout that matches the spec, a dedicated and correctly rated electrical circuit, and a level, square mount so the door seats and the latch engages cleanly. Whirlpool wall ovens (WOS, WOES, WOD, WOED, WOC series) are designed to drop into standard cabinet openings, and the FIT system helps them fit a range of existing cutouts — but the details matter, because a sloppy install shows up later as door switch and latch faults.
Before the Whirlpool wall oven installation
- Cutout: measure the cabinet opening against the exact dimensions in your model spec sheet. The FIT system on many Whirlpool ovens is designed to slot into common openings without filler panels, but you must confirm width, height, and depth.
- Electrical: single electric wall ovens typically need a dedicated 240V circuit on the correct breaker size for your model. This is hard-wired or plug-connected per the manual and local code — never share the circuit.
- Support: the cabinet must carry the oven weight on a solid shelf or rails, not on the trim.
- Clearances: respect the ventilation clearances in the manual so the cavity sheds heat and the control electronics stay cool.
Steps that prevent future faults
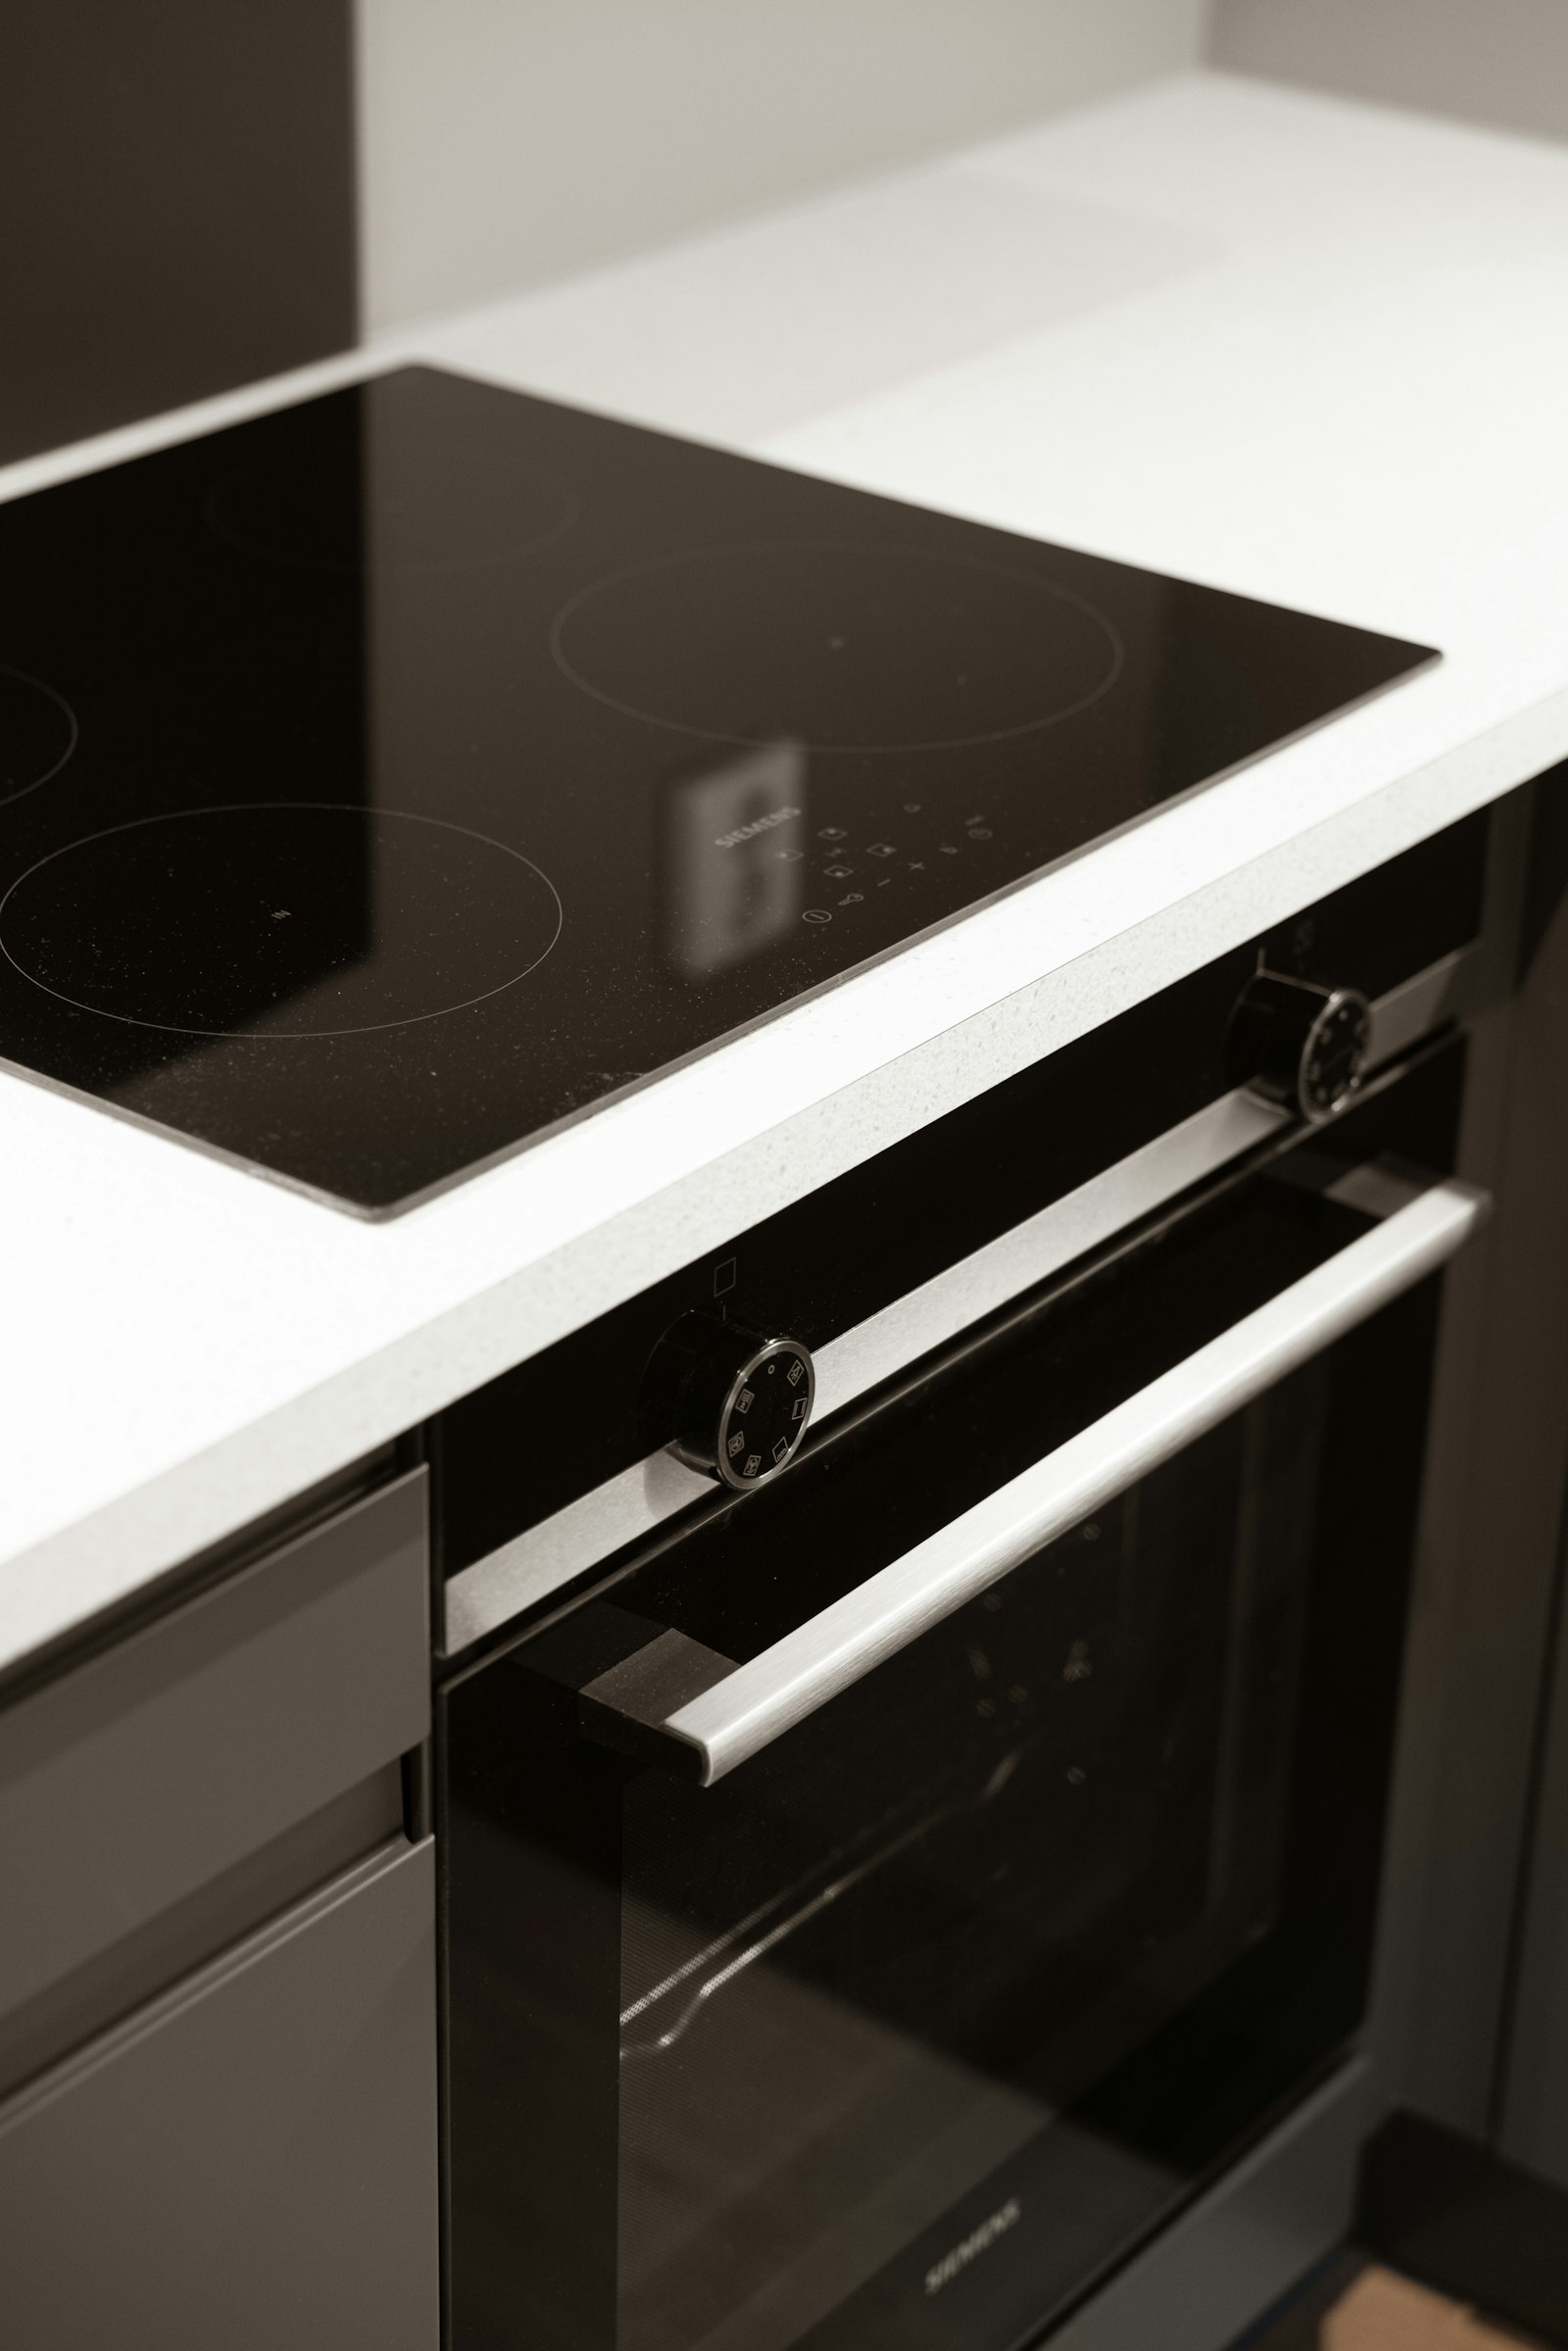
Level the unit front-to-back and side-to-side before tightening the mounting screws — an oven that sits crooked puts the door slightly out of square, and that is the leading cause of an eventual F9E0 door-switch fault where the control cannot confirm the door is closed. Make sure the anti-tip and mounting hardware are fully seated, and route the wiring so nothing is pinched as you push the oven home (a pinched harness is a frequent cause of intermittent codes). Test every function — bake, broil, convection, and the door lock — before declaring the job done.
When to call a pro for Whirlpool wall oven installation
The lifting, leveling, and trim work are within reach for many homeowners, but the 240V electrical connection is where mistakes are dangerous and code-sensitive. If you are not fully confident wiring a high-amperage circuit, that part should be a licensed electrician or an experienced installer. If a newly installed oven throws a code right away, our guide to Whirlpool oven error codes helps you tell an install issue (pinched harness, crooked door) from a defective part, and you can schedule a Whirlpool oven service visit if it needs hands-on diagnosis. For the precise cutout and electrical specs for your exact model, always defer to the installation instructions at whirlpool.com.
Replacing an old wall oven versus a new install
Most wall-oven jobs are replacements, and that changes the work. The biggest variable is whether the new oven matches the old cutout — Whirlpool FIT system ovens are designed to fit common existing openings without rebuilding the cabinet, which can save hours, but you still must verify width, height, and depth against the spec sheet rather than assuming. Check the existing circuit too: an older oven may have been wired to a breaker that does not match the new model rating, and the connection type (direct-wire versus a plug) can differ. Inspect the cabinet shelf that bears the weight; decades of heat can dry out or weaken it, and a new, often heavier oven needs solid support. Save the old mounting hardware only if the manual confirms it is reusable — most new ovens ship with their own brackets. Taking thirty minutes to measure and confirm before lifting the new oven in is the single best way to avoid discovering a mismatch with the appliance half-installed.
Final checks
Run a full preheat to 350F and confirm steady heating and an accurate independent thermometer reading before you load it with food. Test the door lock, convection fan, and broil element as well. A few minutes of verification now saves a service call later.